
New Website using Jekyll
I decided that my project over Christmas break would be to create a new website. Although setting up the website overflowed past Christmas break, it is finally live. What motivated my decision was finally figuring out how to get my website to show up in a Google search. Spoiler alert, I registered my website with Google Search Console.
The Old Website
My old website was fine, but nothing special.
A picture of the old site is shown below:
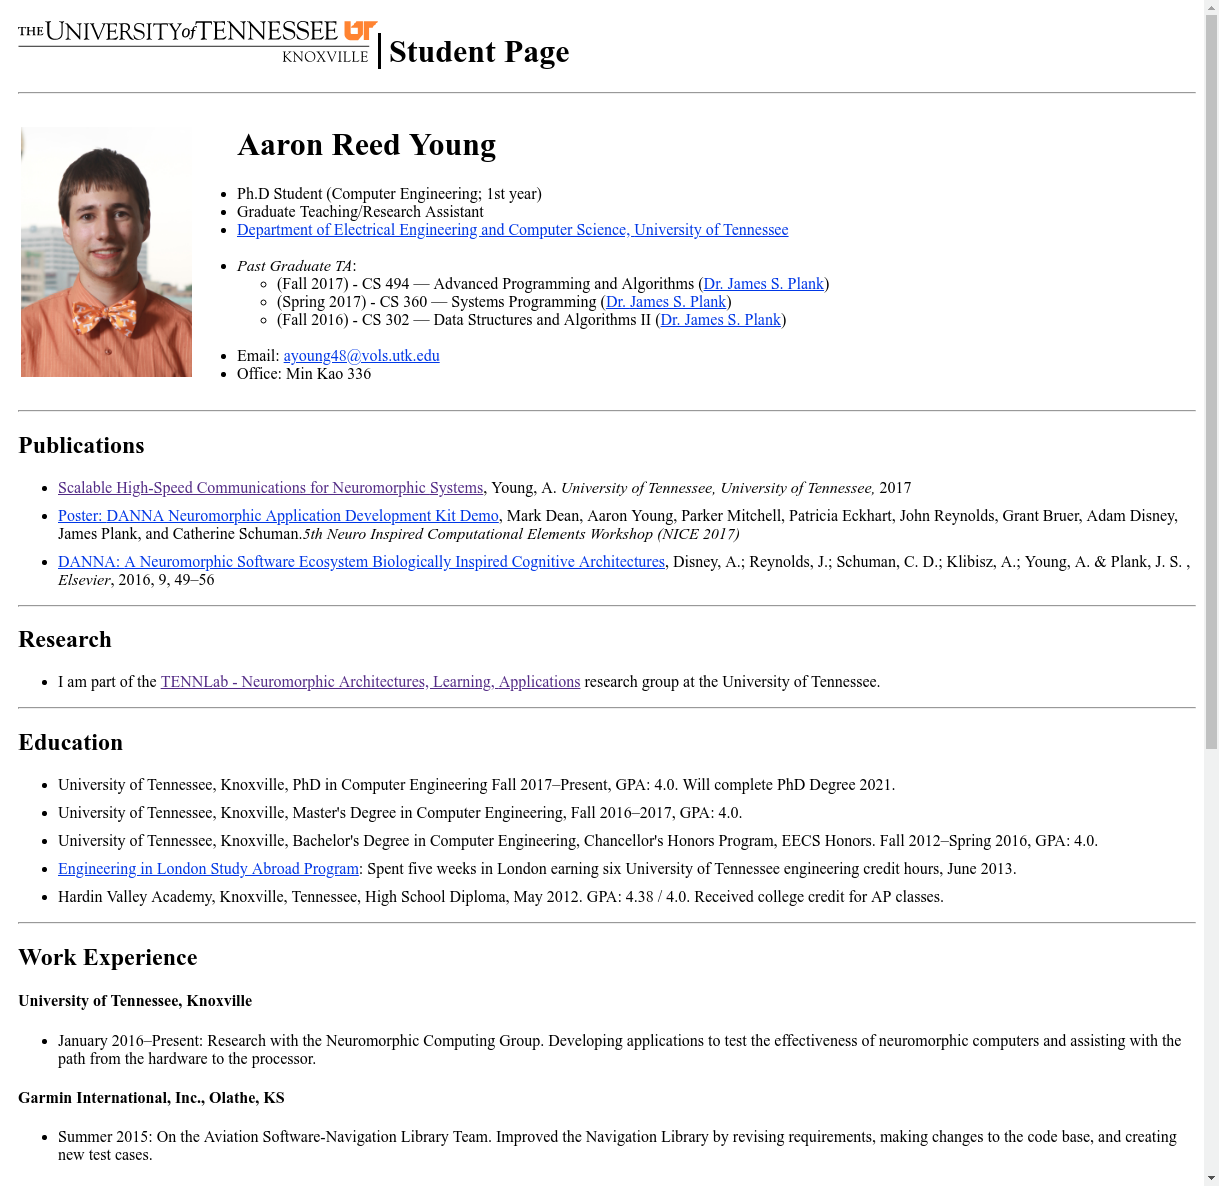 The old website consisted of a single page and its content was the same as the new About page.
There were a few reasons I wanted to update my website.
The old website consisted of a single page and its content was the same as the new About page.
There were a few reasons I wanted to update my website.
- I am not very good with HTML and I would rather create content for the website using markdown.
- The previous website used no CSS and only had static HTML pages. It would be difficult to maintain navigation and constant style if I added additional webpages.
- I thought it would be cool to try writing a technical blog, since my workflow has greatly improved from reading other people’s technical blogs.
- I heard about GitHub pages and wanted to try creating a Jekyll website. Yes I know I’m not hosting this site on GitHub pages, but I will likely transfer my website there once I can no longer host my website on the University of Tennessee’s servers.
Why Jekyll?
So why did I go with Jekyll? For a few reasons. First, I wanted my website to be static, and I wanted a tool to help generate the static pages. Second, I learned about GitHub pages, which made me want to try out Jekyll so that I could possibly use GitHub pages for future project pages. And finally, Jekyll seems to have all the features I could want with great community support, which means that I would be able to find resources to help me to get started.
Learning Jekyll
I started learning Jekyll by reading the documentation provided on the Jekyll Website. I got the default template website running with the quick start guide and then worked my way through the step by step tutorial. The tutorial was well put together, but a little overwhelming since it is written for someone with web developing experience. It did help me figure out roughly how Jekyll generates the web pages, and made me realize that I wanted to use an existing theme instead of trying to build my own. The other main documentation for Jekyll is well put together and easy to navigate once the terminology is understood.
Because it was hard for me to see how to use Jekyll for my project based on the documentation, I also read other people’s blog posts which detailed how they went about creating their Jekyll websites. The two that I found most helpful are Create your Academic Website in Jekyll and Host it on GitHub by Steven Miller and Build your own website (with Jekyll and Minimal-mistakes theme) by Li Zeng. You might notice that my website looks very similar to Li Zeng’s and that is because I also decided to go with the Minimal Mistakes theme.
Finding a Template/Theme
When I was deciding how I wanted my website to look and be structured, I searched the web to try to find examples of personal websites that I could use for inspiration. Many of the sites I found were primarily used as portfolios and therefore showcased the work or the writings of the person. I knew that my website only needed a landing page, about page, blog (If I thought I would create posts), and a link to my resume. The key to the content I wanted is that it would consist of multiple pages and would be set up as a personal academic website. This ruled out all the themes which focused on a single landing page or didn’t fit the personal website aesthetic.
When searching for a theme, I looked through jekyllthemes.org and jekyllthemes.io. I preferred jekyllthemes.org since all the themes are free, however, some of the themes have bad links. Jekyllthemes.io was also good to look through and you can filter the results by free websites and all the themes had good links. Many of the better looking themes can be found on both sites. I found 7 themes that caught my attention as potential candidates. Then I narrowed the search down to two favorites. The final two were Minimal Mistakes and indigo. I ended up choosing Minimal Mistakes, since I liked the more content heavy splash page layout for a homepage, and the theme seemed feature rich and well-designed. It got bonus points for the well laid out documentation that was written using the theme. Indigo was close second since it is also well-designed and a beautiful minimal design with a very clean landing page.
Although there are differences in the parameters used between themes, the content for the site is all in markdown. So with some time invested in configuring a new theme, I could migrate my site to a different theme. The downside is that, since the themes have different configurations and layouts, different themes are not interchangeable without some work.
Making Content
The first step I took was to read the documentation for Minimal Mistakes. The documentation is structured well and custom configuring the site was easy and fun. I then ported over my old website’s content to make the about page. I then spent some time learning how to embed the resume document into the webpage. Next, I structured the home page and selected graphics to use. I found two useful resources for images. Font Awesome has a wide range of free SVG icons. I used their envelope icon for my contact me graphic. The second resource is Unsplash which has free high resolution photos. Unsplash is where I got the typewriter image I used for the resume graphic. That’s about it, the rest of the website setup was done following the Minimal Mistakes documentation.
Tada Done
So now I have a new website. Thank you for visiting and reading about it. If you have any questions or comments about the new website, please don’t hesitate to leave a comment below.


Leave a comment