
Sourdough Bread
My favorite type of bread is a fresh, warm loaf of sourdough. I can almost go through a whole loaf by myself when it is fresh from the oven. Sourdough bread also makes the best french toast and great bread crumbs for wiener schnitzel. This post will go over the basics to getting started making sourdough bread. It includes links to the resources I used to get started, my favorite recipes, and some tips and tricks I have learned over my years of baking and experimenting for fun.
Starter
At first I tried to make my own starter. This didn’t really work out all that well. I learned that you should not try to make a sourdough starter by initially adding in baking yeast. If you do this, you will not get the good sourdough flavor and it will be harder to form the symbiotic relationship between bacteria and wild yeast which gives sourdough its unique acidic flavor. After a first bland attempt and subsequent difficulty to get a starter to grow with wild yeast (i.e. with only flour and water). I decided to buy starter from King Arthur Flour. This starter worked much better. I bought it in 2013 and I have kept it going ever since. I keep the sourdough starter in a King Arthur Sourdough Crock. They also sale the starter in a set with the crock.
Starter Care
King Arthur Flour provides a great sourdough guide to learn how to get started with sourdough bread. It includes information on how to maintain a starter as well as how to bake bread. This is where I first started and I still use much of what I learned here.
I generally end up neglecting my starter for a few months at a time when I get busy and didn’t have time to bake. The starter will do well for this long in the fridge. Do not freeze the starter since doing so could harm the microbes. If I’m not planing on using my starer within the next few days, I will keep it in the fridge. The cold slows down the activity of the organisms which also slows down the rate they consume the flour. After a while, brown liquid will form on the top of the starter. This is expected and can be mixed back into the starter before feeding. If the starter ever shows signs of mold, has an orange or pink tint/streak or smells putrid then it went bad with harmful microorganism and you will want to throw it out. I don’t know how common this is as mine has never spoiled. The smell of sourdough is quite sharp but it should smell like beer or bread and not like spoiled food.
When I feed my starter I mix together a cup of starter, a cup of water, and a cup of flour. I usually use a scale which means I mix together 172 grams of starter, water, and flour. You can vary the ratios, but I found that the same amount of each works well. I aim for a pancake batter like consistency. Too much water and there isn’t as much food. Too much flour and the starter can expand outside the container and makes a mess. A nice balance will bubble, but not trap the air so that it expands.
There is a difference between a fed and unfed starter. A fed starer is active and bubbling. Typically, you can feed the starter and wait a few hours and it will be active. An unfed starter is straight from the fridge before feeding. If it has been a long time since I fed the starter, I will feed it, let it sit at room temperature for a day, feed it again, and wait for it to appear active before I consider it fed. I have made bread with both fed and unfed starter. The fed starter makes it easier to get fluffier bread but unfed still works.
Another great trick I learned is that you can easily transfer starter by taking some of it and adding lots of flour so that it forms a dry ball. The dry ball can then be stored in the top of a bag of flour you are taking on a trip. I have used this to transfer my starter when I traveled to visit relatives and I wanted to make sourdough bread for them. The bag of flour with dried starter in the top was much easier to transfer then the ceramic crock.
Sourdough Bread
Bread making is as much an art as a science. There are many factors at work to determine how the final loaf will turn out. These variables include the activity of the starter, the water-to-flour ratio, and the time and temperatures for the various fermenting, proofing, and rising stages. Although I started out following the Extra-Tangy Sourdough Bread recipe, I also started experimenting with this recipe to learn how different ingredients and techniques affected the final loaf. Now I still loosely follow the recipe, but I do it more from experience and practice then from precisely measuring everything. My goal was actually to simplify the process as much as possible, down to the key ingredients, understand the role these ingredients play and then understand the phases of the proofing process. I found that the bread mostly came out well every time and the variation was fun. My current bread relies on simple ingredients and gets the great sourdough flavor from only the starter and the proofing steps.
My approach to making bread has been shaped by reading a variety of books, reading internet posts, and from watching YouTube videos. Of particular note is In Celebration of Simplicity: The Joy of Living Lightly which is about living a life based on gospel simplicity through an extended metaphor with the simple ingredients in bread. This book inspired me to keep the ingredients simple and to understand the role of each. The bread chapter in Cooked: A Natural History of Transformation was very interesting and led me to experimenting with whole wheat sourdough bread and also to use wetter dough. The whole wheat was very challenging, but I could eventually make a good sandwich bread loaf. However, I could never get as yummy of an artesian loaf as I could with white flour. The introduction to Classic Sourdoughs has a great, concise, introduction to the art of sourdough bread making with information on the various factors and how they affect the final loaf.
My Method of Baking Bread
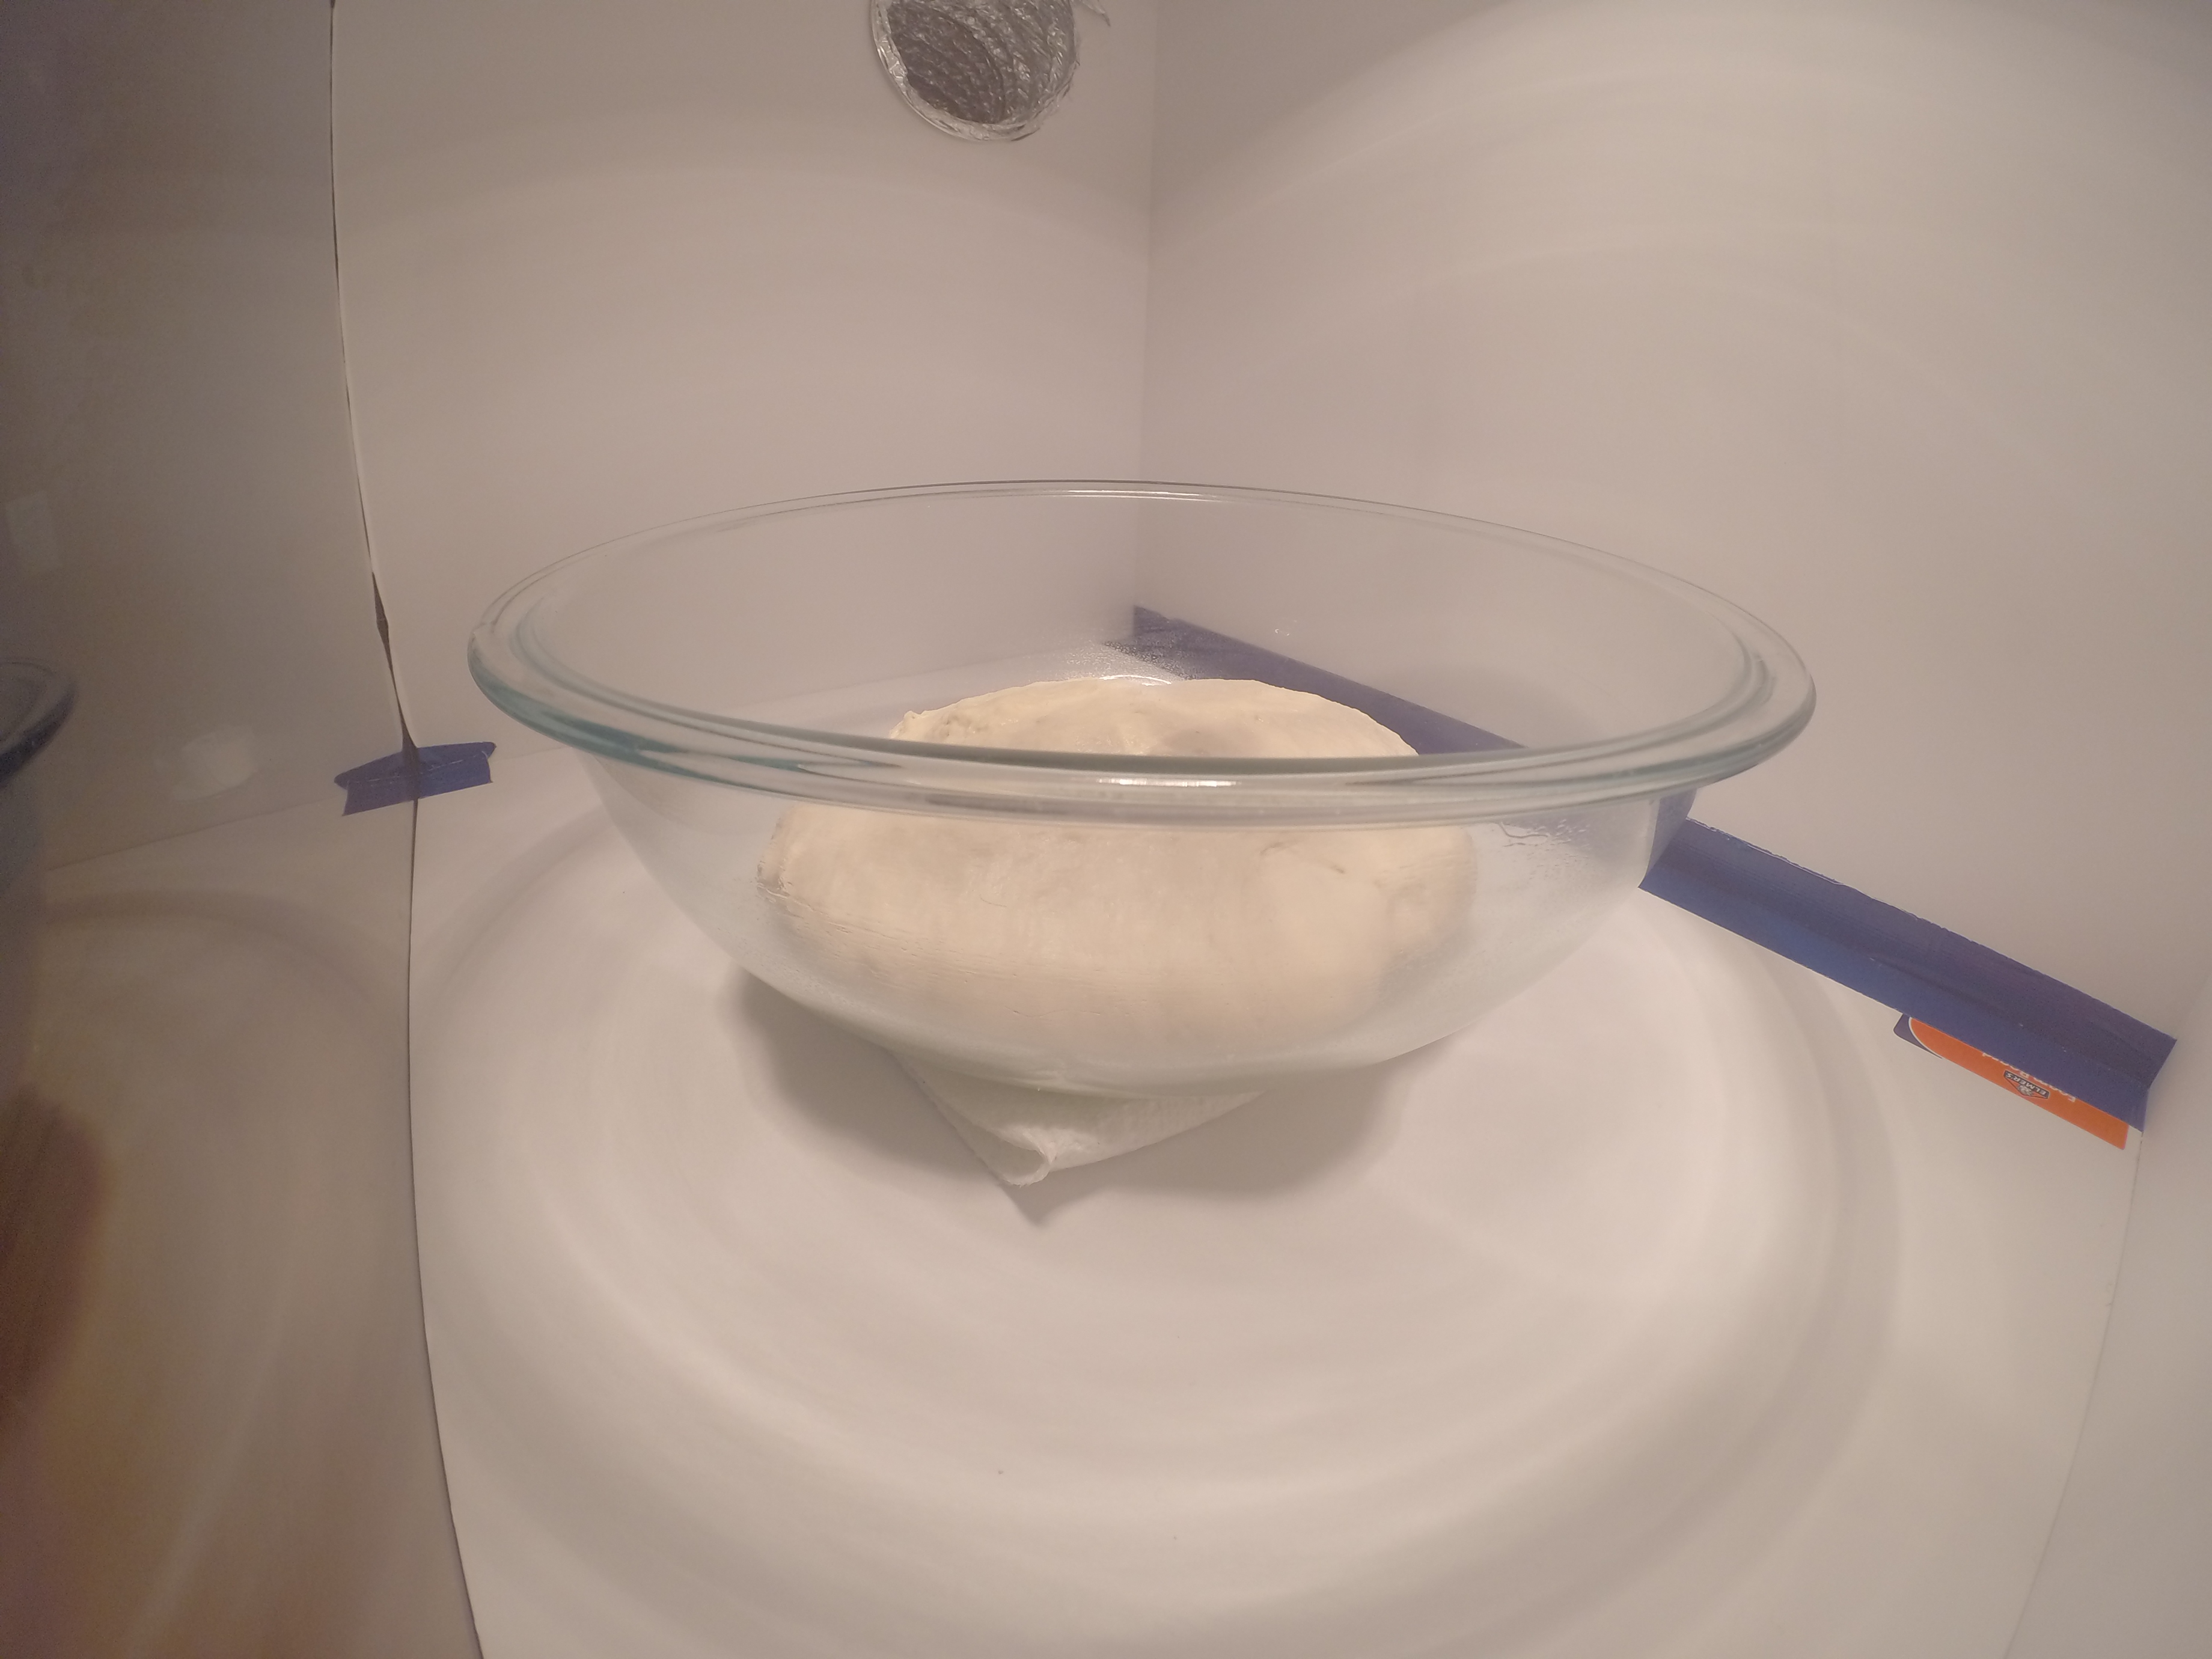
So I will now walk you through my process making bread, but for a recipe and more details instructions follow the Extra-Tangy Sourdough Bread recipe and start experimenting. I start off the day before by mixing together a small mason jar of water (2-ish cups), the leftover starter after feeding it, and a sifter full of flour (3-ish cups) in a large glass mixing bowl. I spend a while mixing this together until it is quite smooth 1-3 minutes. At this stage it should be uniform and still liquidy like pancake batter. You want it to be liquidy so that it won’t overflow the bowl overnight. Then let the bowl sit out on the counter until you go to bed, then move it into the fridge (I will leave it out all night if I used an unfed starter).
The next day I just add some salt, honey, and herbs. With these ingreadients, I stopped measuring the amounts percisely. Start with the amounts listed in the recipe, but after awhile you get a feel for the rough amounts and no longer have to measure precisely. I like using thyme or a mix of Italian herbs. For this part I take inspiration from Penelope Wilcock who says in In Celebration of Simplicity: The Joy of Living Lightly “When I add salt, yeast, honey and herbs into my bread, I just put in ‘some’. Approximate amounts will do, creating acceptable variants in the taste.” I no longer add sour salt to my bread, since I am able to get a strong natural sourdough flavor without it. At this point I also usually add in some olive oil. If you want artesian bread, then leave the olive oil out. But if you want sandwich bread with a softer crust include it. The oil will reduce the size of the air pockets and make the crust softer and better for sandwich bread. Again with the oil, I don’t measure precisely but pour in ‘some’ from my tin olive oil container. I probably add around a tablespoon or two. On the amount of oil to add, Penelope says “I put lots in.” I mix everything together, so that it is uniformly combined. Then I either dump it out onto a bed of flour or start adding flour while I am stirring. I mix the added flour in with the dough.
At this point I should probably let the dough rest for a bit to autolyse but normally I forget and just start with the kneading. While I knead I try to keep the dough as wet as I want to deal with, as I start to knead it using the “slap” kneading method. This method is shown in the King Arthur Kneading video and requires less effort than other methods and allows stickier dough to be handled. This main kneading needs to be long and I do it for at least 10 minutes. As you continue kneading the dough will start to get firmer and harder to knead. This means you are closer to finishing. I try to keep it sticky and will occasionally add flour to the outside to make it less sticky. While I am kneading it, I add more flour based on the constency of the dough. From Cooked: A Natural History of Transformation, the wetter the dough, the better for artisan breads. However, I like to find my happy middle ground with a sticky dough, but one that is dry enough to no lose its structure during the proofing process. With really wet dough, you should fold the dough as it rises. With dryer dough, this is not required. I would begin with the recipe and then start expirementing. If you want to track expirements with the amount of ingredients in the recipe, you can use the baker’s percentage, which measures the ratio of other ingreadetants by weight to that of the flour. Of great inportance is the dough hydration, which is the baker’s percentage of water. Once I am done kneading, I clean the large mixing bowl the dough was in, coat it with olive oil, then add the dough back to the bowl.
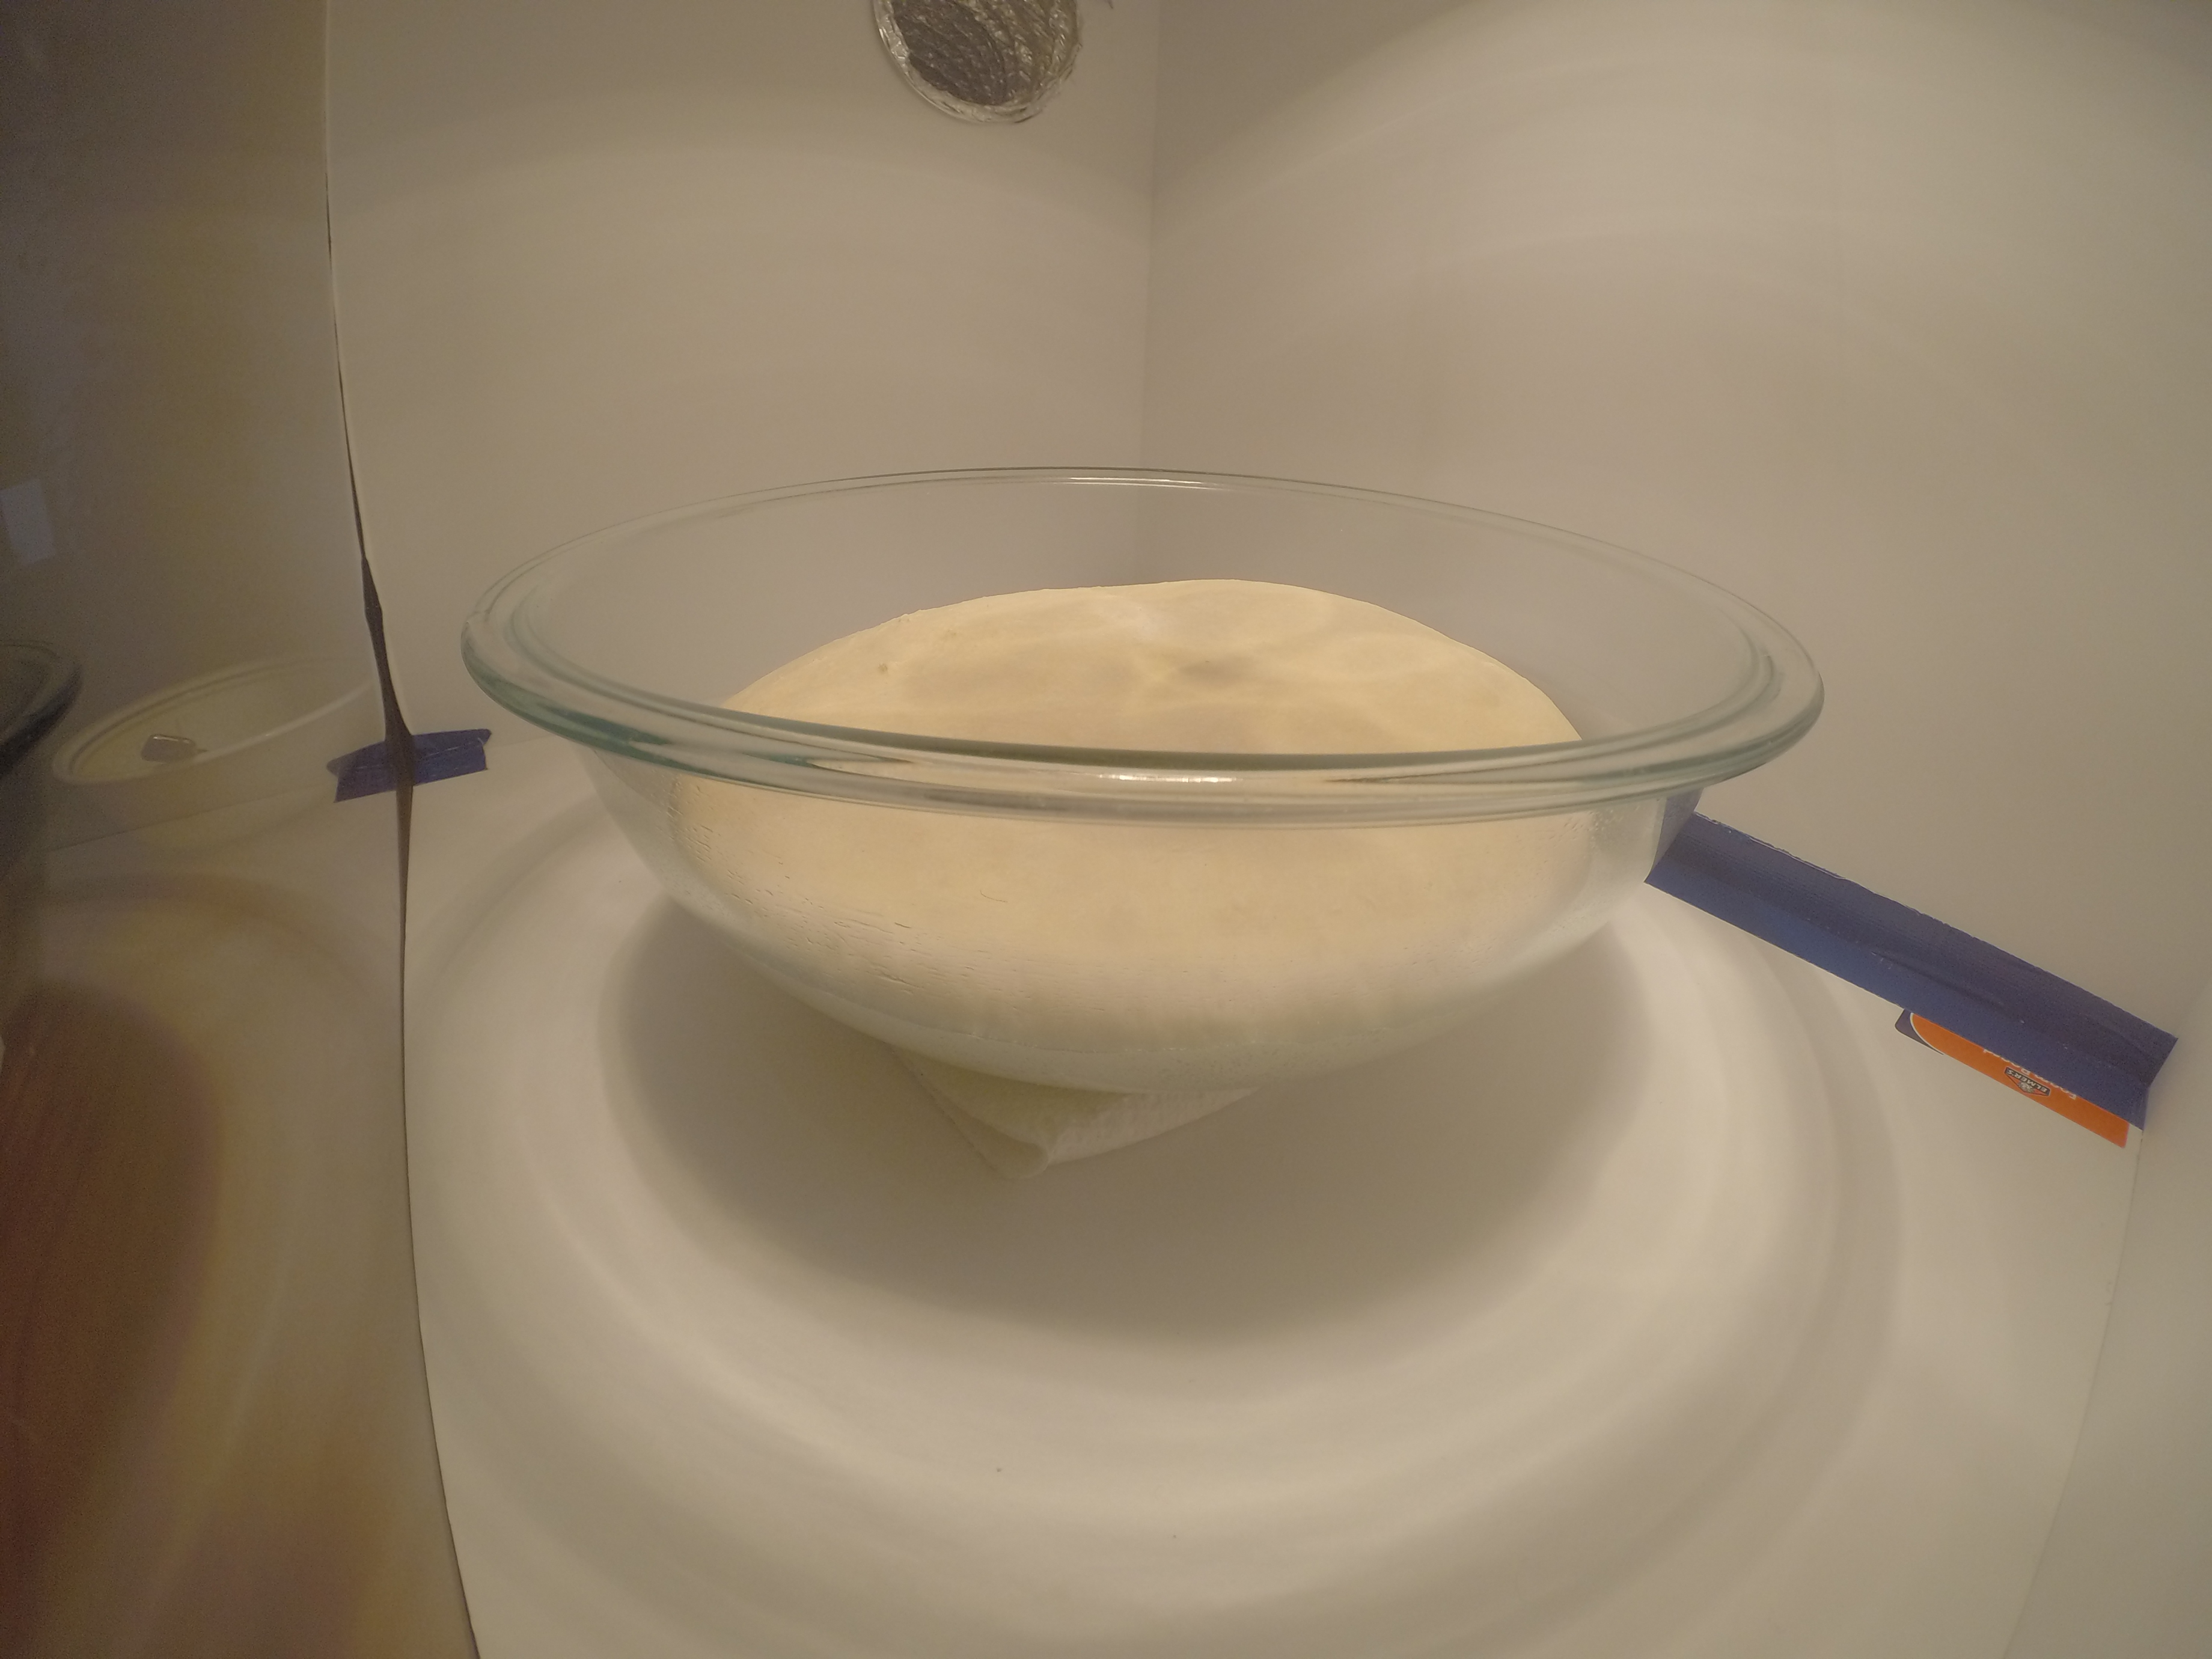
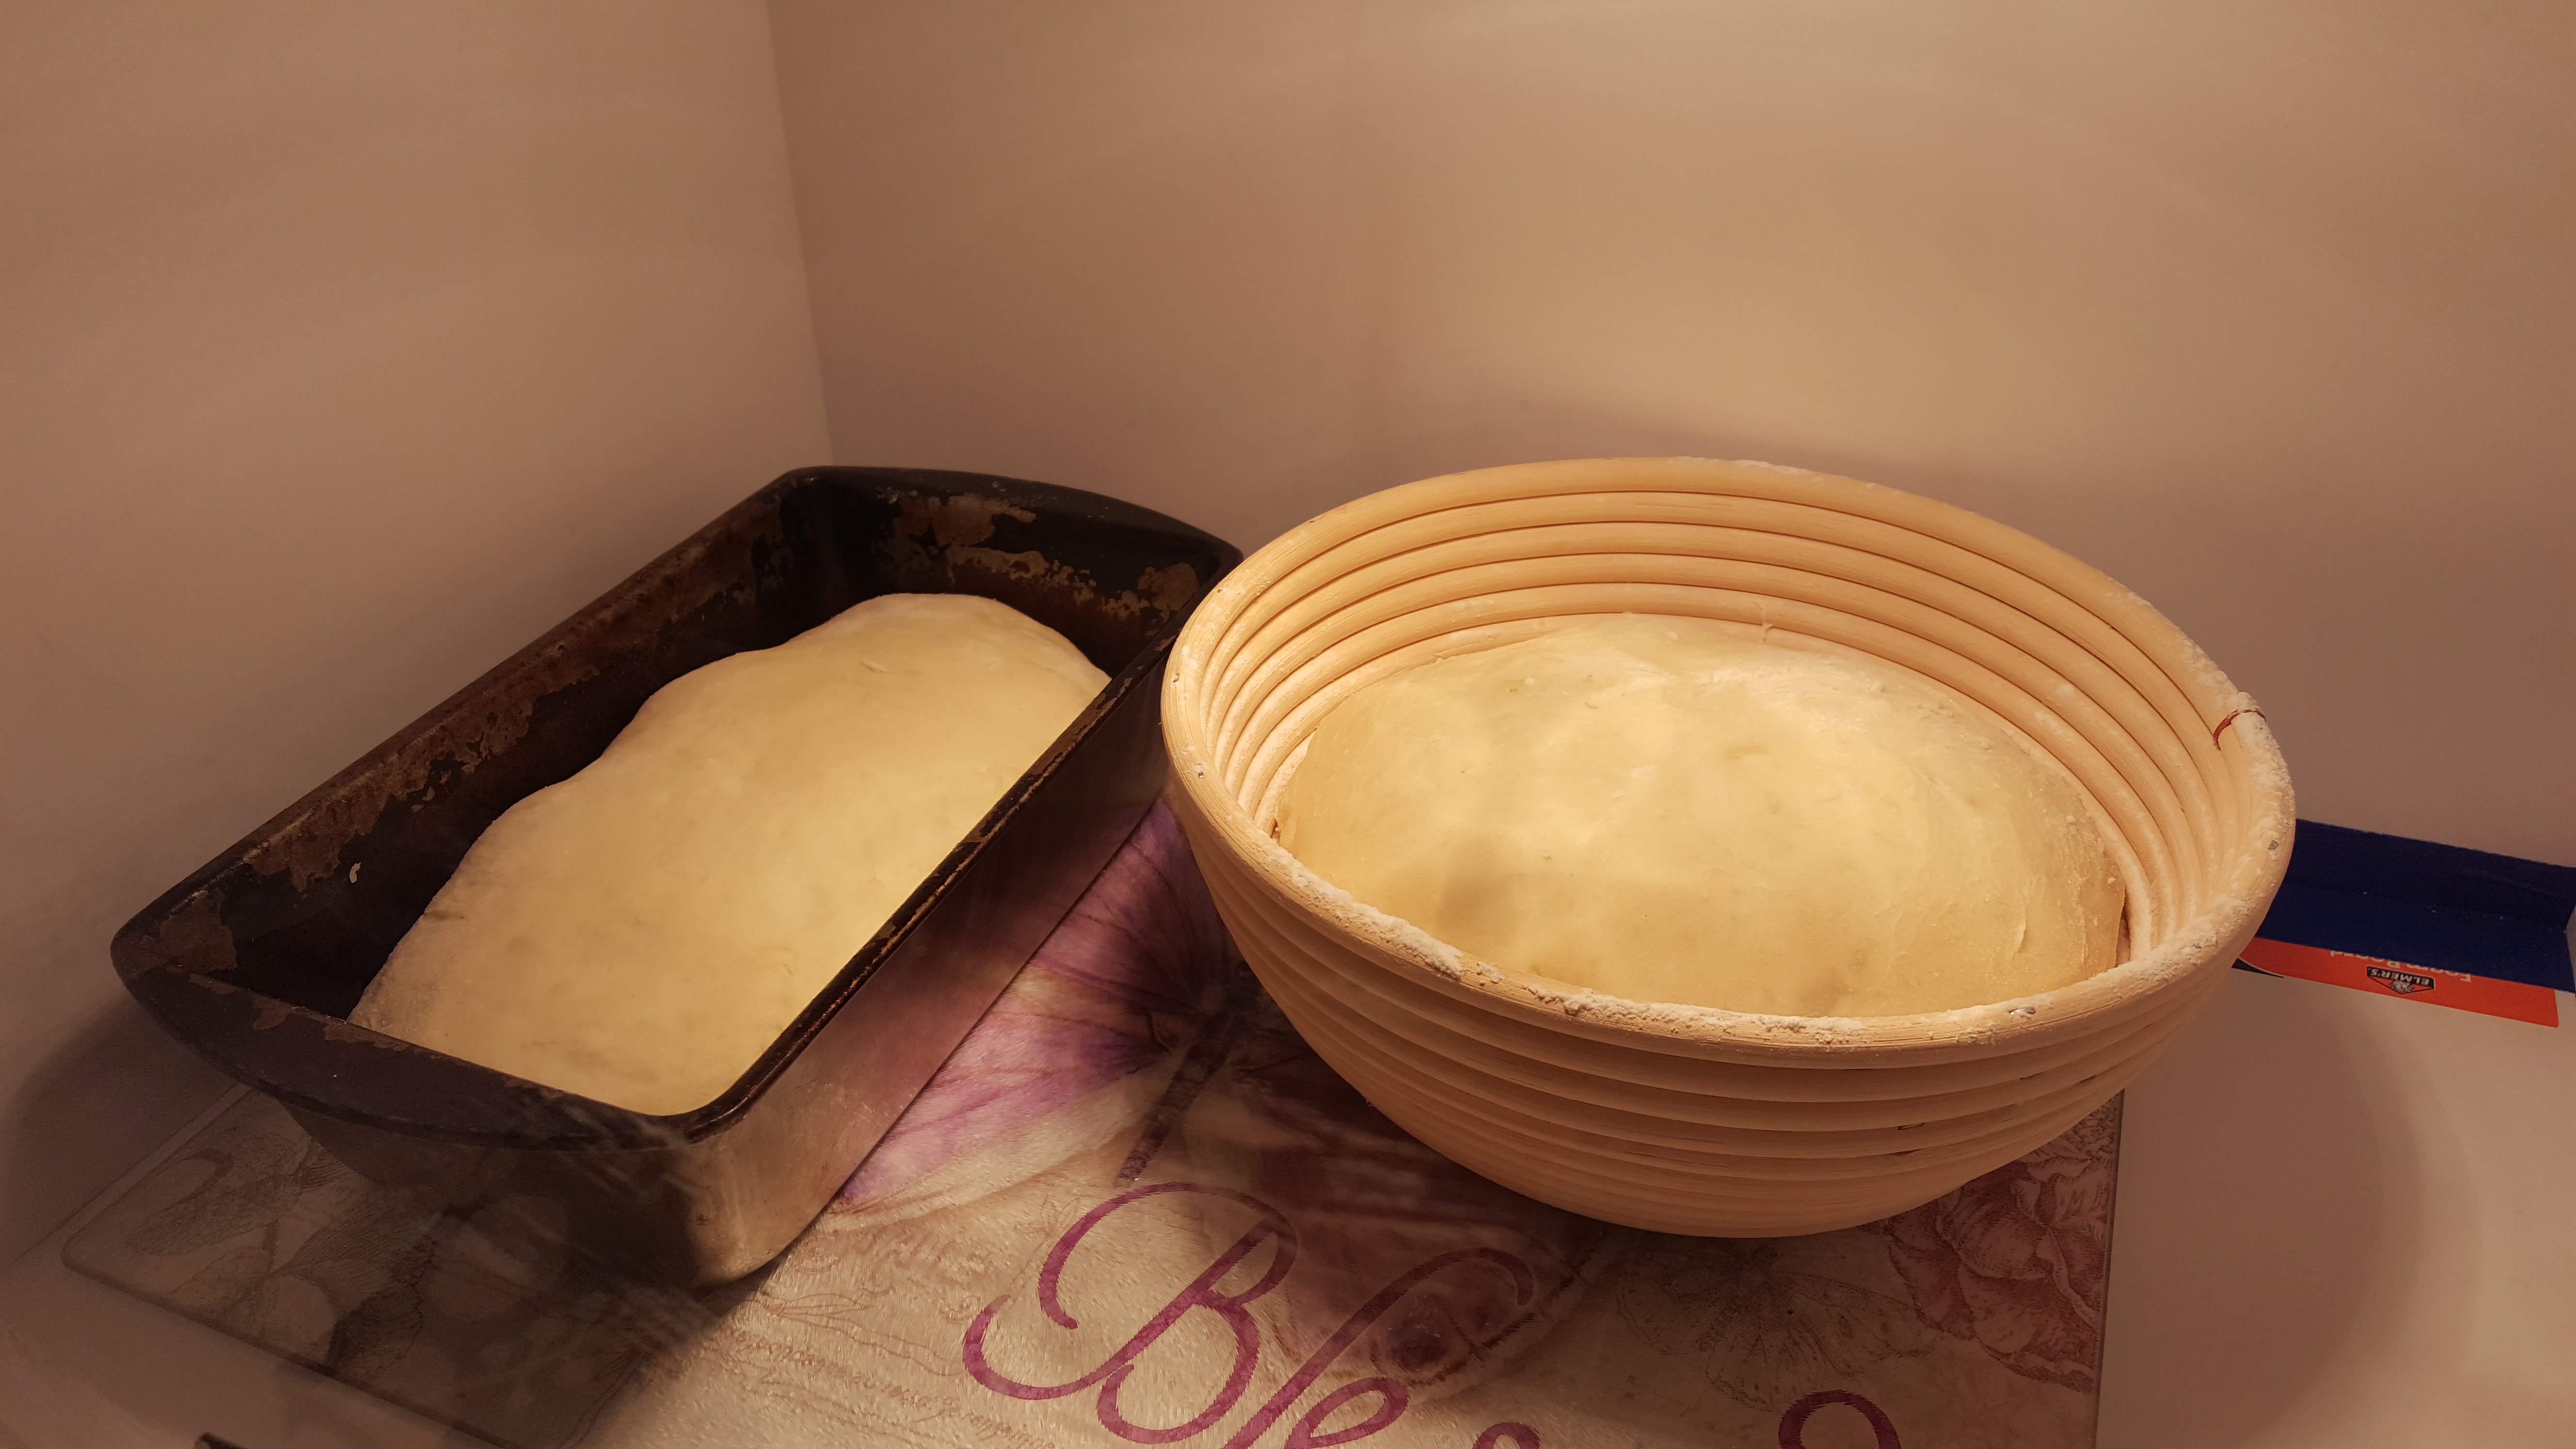
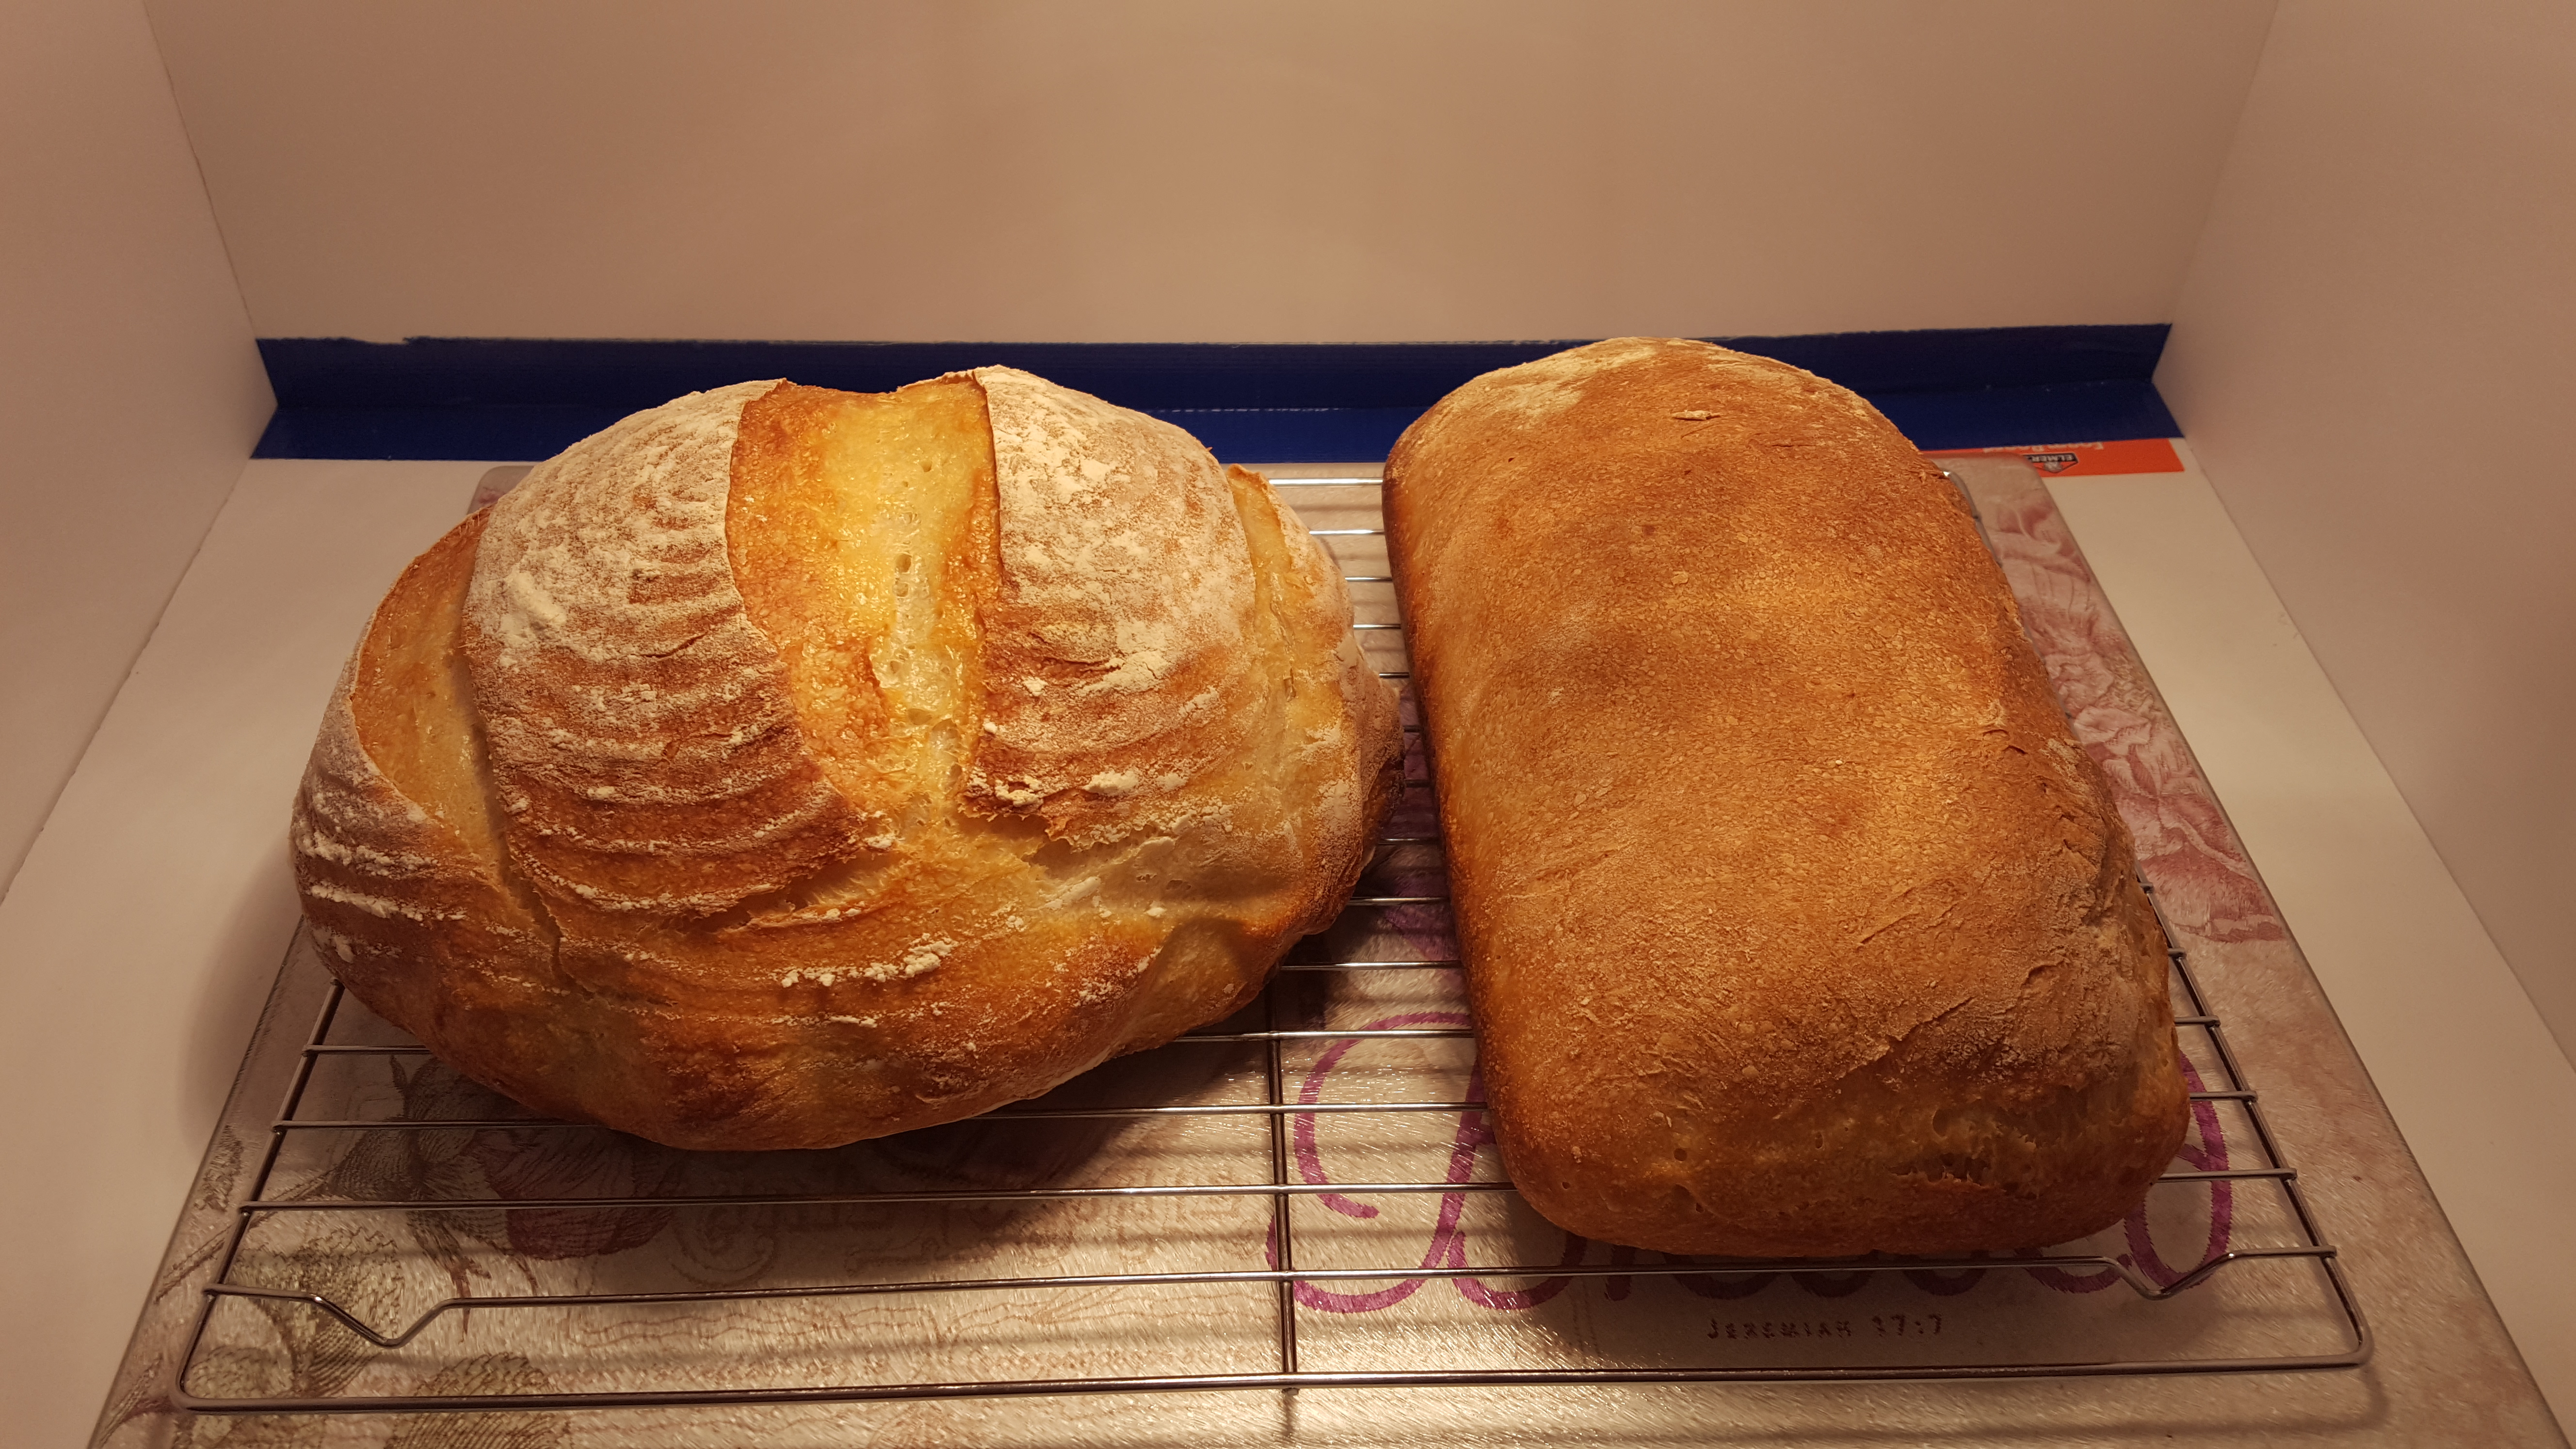
Then I move the dough to my bread proofing box and wait a while. You can easily make bread without a proofing box, but see more information about them here. I either try to fold the bread every 30 min to 1 hour, if I am doing a particular wet dough as this helps the gluten form better, or I just let it sit without attention. Like the recipe says, I wait anywhere between 2 and 5 hours as I watch it occasionally to see how it is rising. Once I am convinced it has risen well, I do the short knock back kneading for around 2 minutes, then I divide the dough into two halves, shape it, and either add it to a bread loaf pan or a brotform. Often I will do both to make a round artesian loaf and a sandwich loaf.
Then I let it rise in the proofing box for another 2 to 4 hours until it has risen. Then I preheat the oven and bake the bread. I spray the top of the bread with water (olive oil could also be used) and cut slits in the dough to let the air escape as it rises. I usually start the oven off at 500°F for the first ten minutes to help the bread rise quickly. Then I reduce the temperature to 425°F and add aluminum foil to prevent the crust from hardening as much as it finishes cooking for 15 to 20 more minutes.
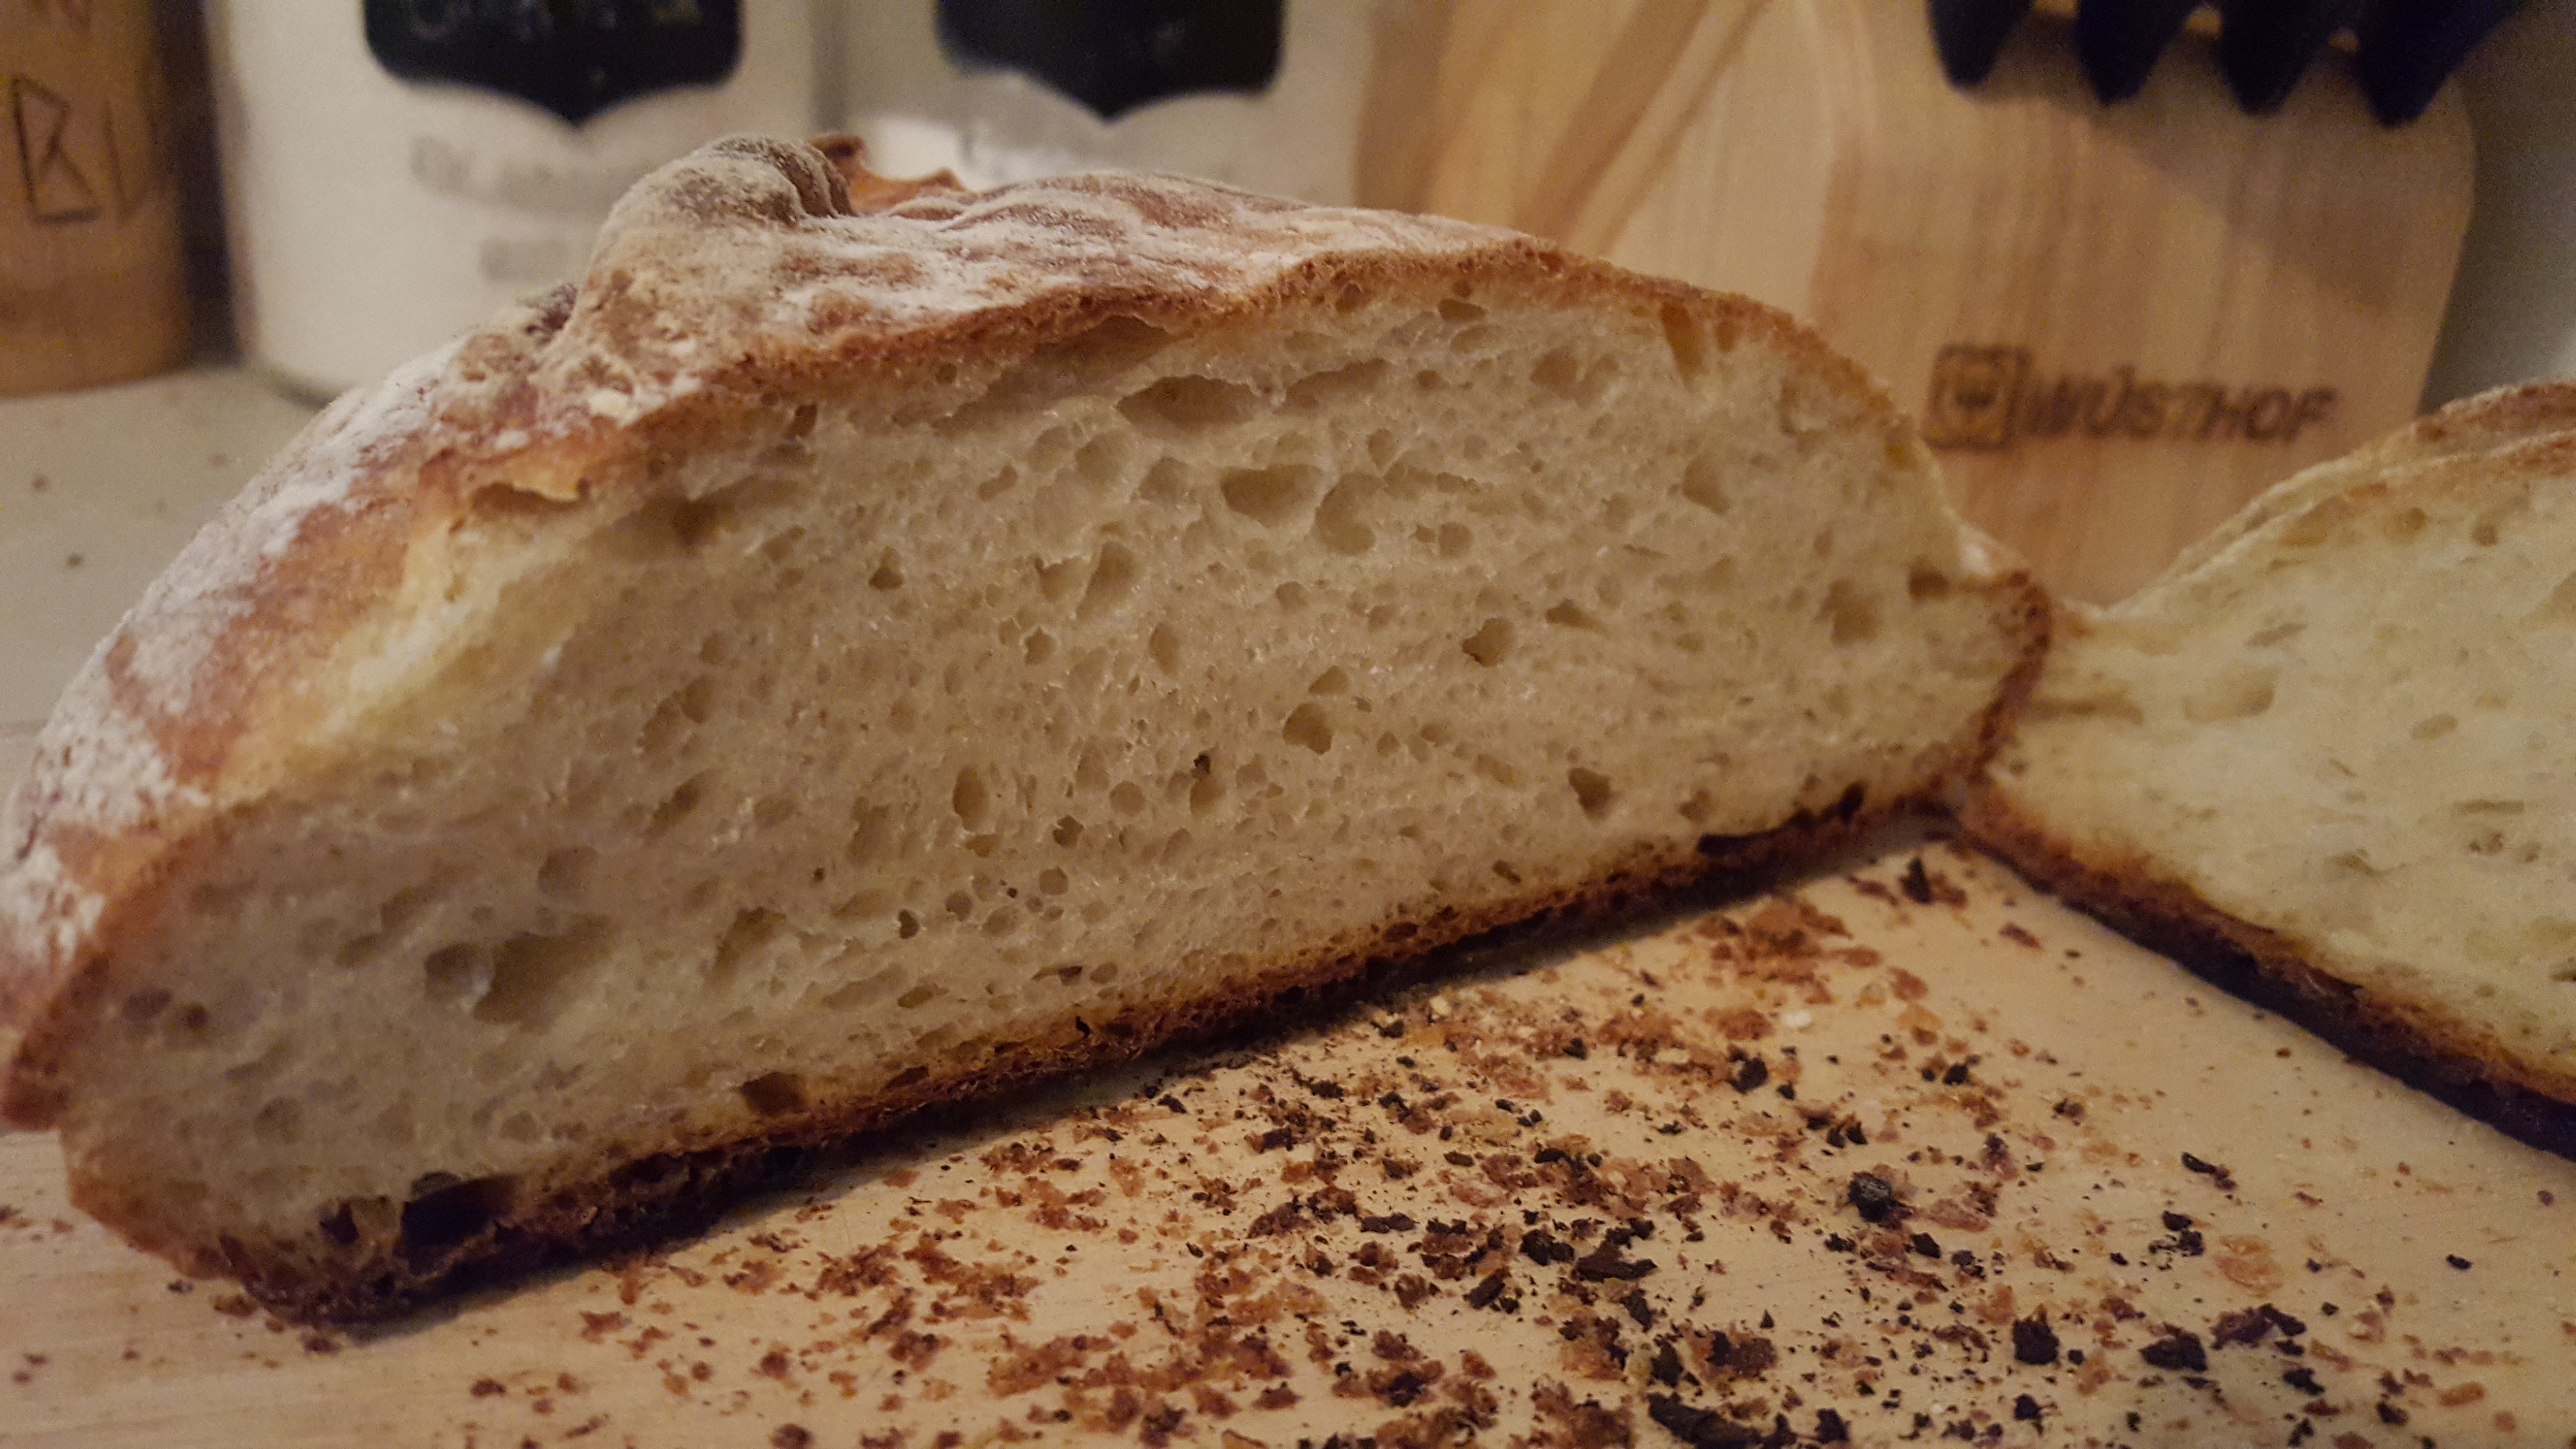
The finished bread is great while it is still hot. The second loaf can be frozen if you don’t plan on eating it for a few days. The bread will last for about a week before it becomes stale. Slightly stale bread works great for french toast (even better than fresh bread in fact since it keeps together better as it soaks up the egg/milk mix); also any leftover bread which is stale can be blended into bread crumbs and stored in the freezer. For bread crumbs the bread either has to be stale or toasted in order to blend into good bread crumbs.
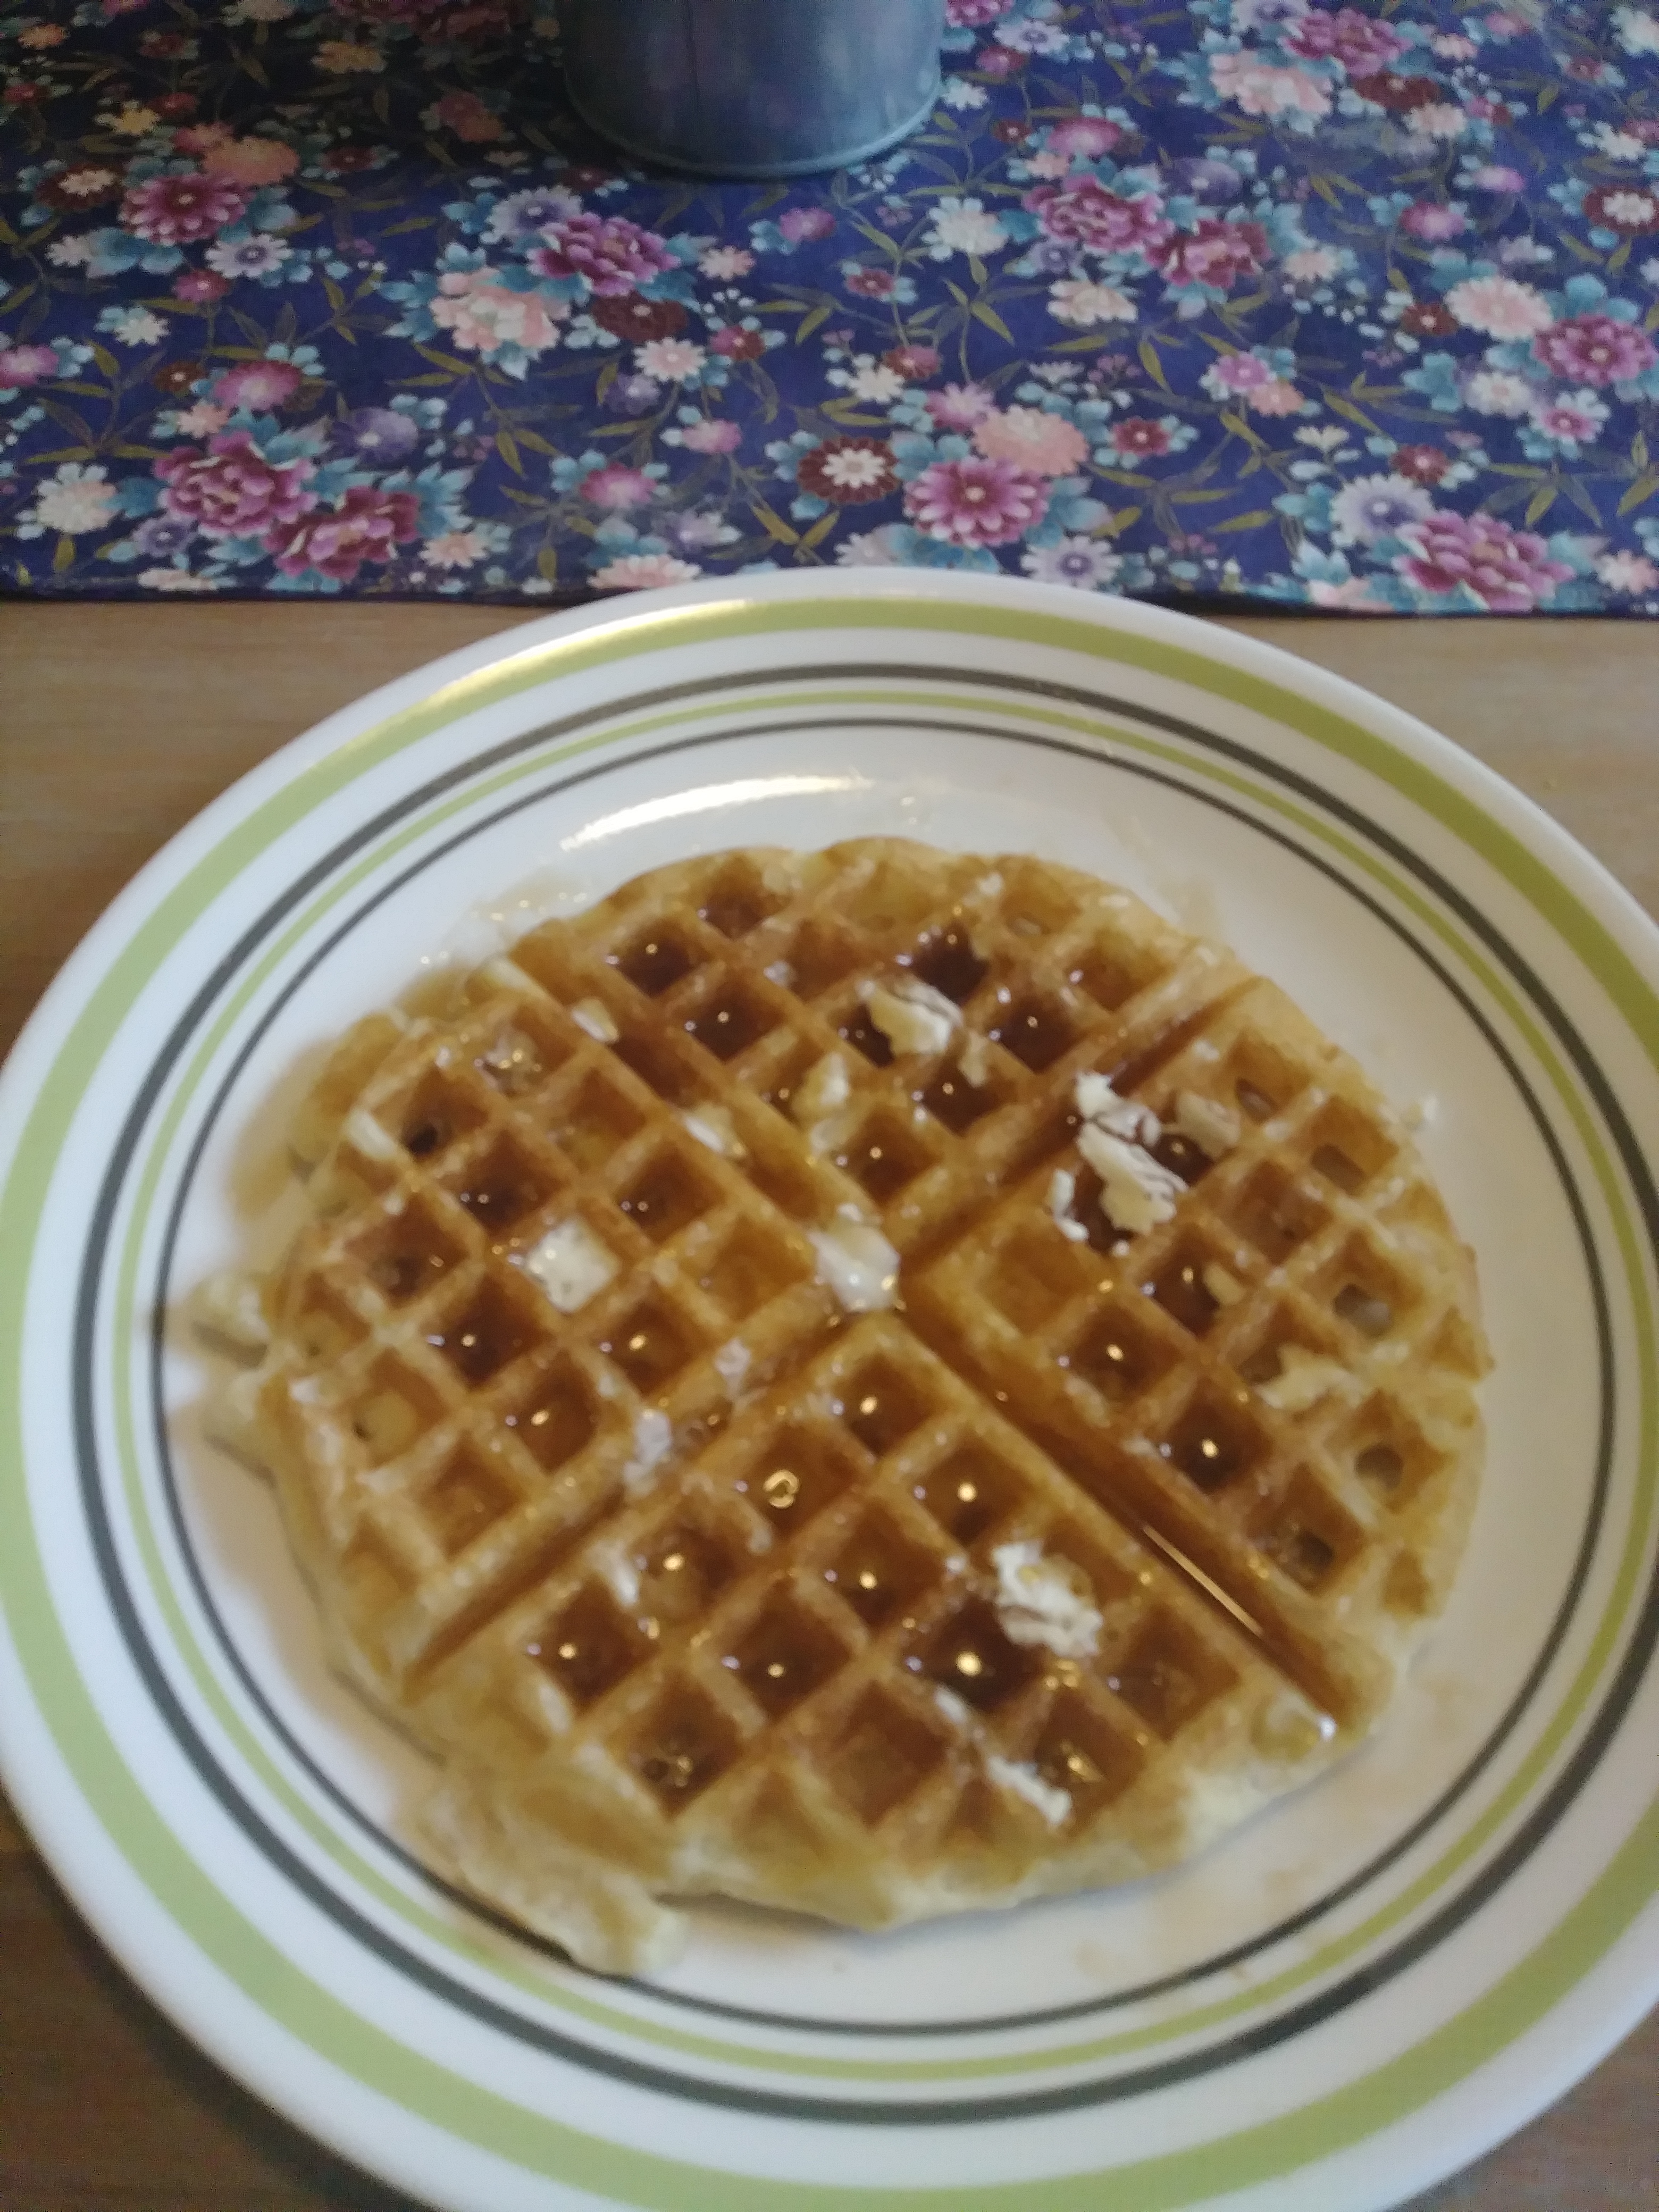
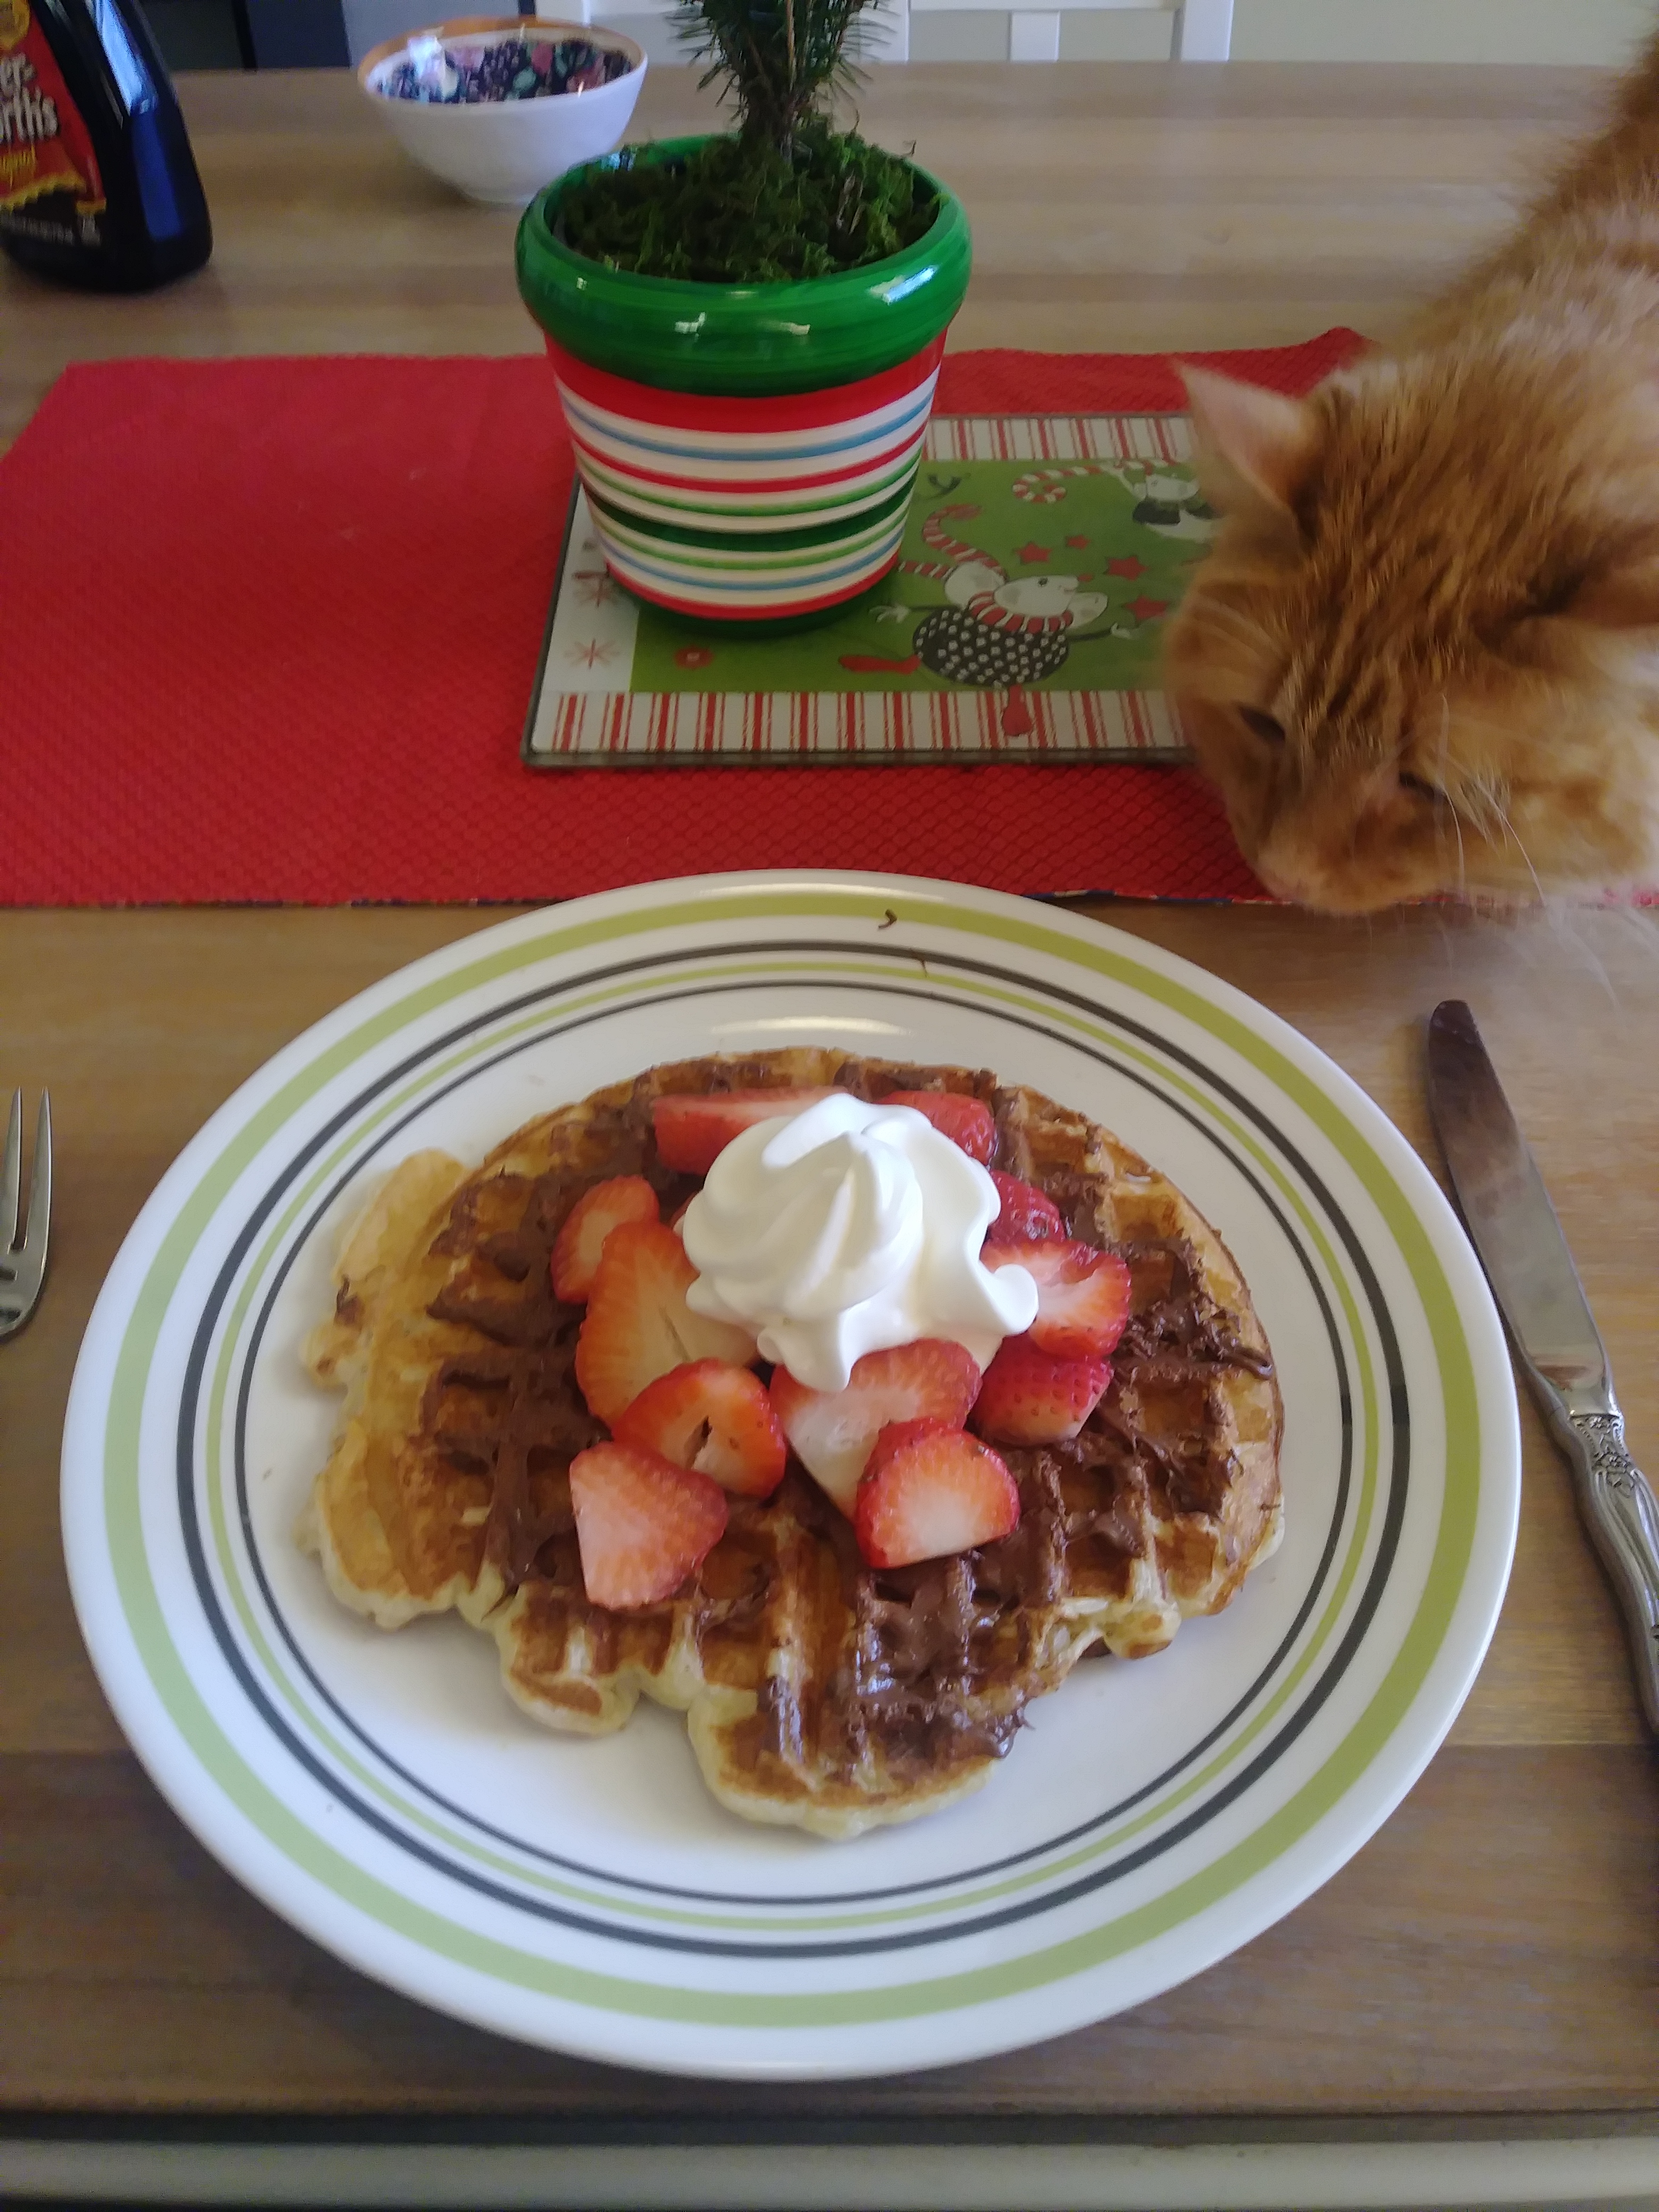
Waffles
My favorite waffle recipe is by far the Classic Sourdough Waffles or Pancakes from King Arthur Flour. These Waffles have a great sourdough taste to them. I have found that you can leave excess batter in the fridge and cook it subsequent days without issues. I would try to eat it up within three days though. I also found that the sourdough flavor is slightly stronger each day.
Bread Proofing Box
I wanted to try using a proofing box to see if it would improve the quality of my sourdough bread. However, I didn’t want to by a proofing box if it would not make a big impact. So when I was thinking of a final group project idea for ECE551—Digital System Design, I decided to make my own “Smart” bread proofing box with temperature and humidity control, built-in automatic schedule, and a web interface. The project was great fun and the final report can be found here. As part of the project, I also experimented with making bread with the bread box. I found that the flavors of the bread were better when the bread box was used. At this time I also decided to stop using sour salt in my bread, since I could get great natural sour flavors in my bread and I didn’t want to cover them up with the sour salt. The bread proofer we made for the class worked great, but I ended up getting a commercial bread proofer mostly since it can fold down easily and was made out of sturdier materials. The commercial bread proofer does lack a few of the features from the one I made. It doesn’t have the proofing scheduling/timing, humidity control, or a web interface. On the flip side the commercial one works well and folds down nicely. However, its heating element works much better than the heat lamp I used. The heat lamp would dry out the top of the dough.
This video shows the bread proofer I made in action.


Leave a comment